
Say you're planning a 400-guest product launch, and the load-in van arrives an hour late because nobody owned the access booking. The installation crew is waiting, the caterer needs the same loading bay, and you're deciding what to cut before the doors open.
Event Logistics Checklist at a Glance
The build can be ready, the caterer booked and the crew waiting, and doors still slip because one approval has no owner. A useful event logistics checklist works as a gated sign-off system: each task has a trigger point, a named decision-maker and evidence strong enough to release dependent work.
Use the schedule below as a recommended working programme rather than a statutory timetable. Start earlier where venue availability, bespoke fabrication or licensing requires it, and bring forward any dependent task when its supplier needs more notice.
The working category map
Event logistics checklist categories at a glance
| Category | Core checks | Lead time | Sign-off owner |
|---|---|---|---|
| Planning | Brief, audience numbers, simultaneous capacity, venue, budget, licences | 12 weeks before | Event lead |
| Supply chain | Supplier bookings, quantities, spares, materials tracking | 8 weeks before, or earlier for bespoke fabrication | Procurement lead |
| Transport | Vehicle access, load-in windows, parking, driver timings | 4 weeks before | Logistics manager |
| On-site setup | Floor plan, power, install sequence, sightlines, exclusion zones, queue routes | 2 weeks before for the plan; 48 hours before for the site check | Site manager |
| Staffing | Roles, rotas, briefings, stewards, crowd counting, queue levels | 2 weeks before | Staffing coordinator |
| Equipment | Pre-opening tests, spares, charging, data, insurance | 1 week before to confirm the testing programme | Technical lead |
| H&S compliance | Risk assessment, method statements, accessibility, emergency access | 6 weeks before | H&S lead |
| Contingency | Failure responses, backup power, communications, weather plan | 2 weeks before | Event director |
Lead times count backwards from the event date. Each owner signs their part before dependent work starts: procurement releases transport bookings, the site manager releases install, and staffing signs the rota before steward numbers are locked.
Replace role titles with actual names in your working file. A small team can combine roles, but it still needs to identify who has authority to accept a delivery, approve a layout change or hold the opening.
Make the spreadsheet usable on site
Copy the table into Excel or Google Sheets, then split the core checks into individual tasks. Add columns for status, evidence, sign-off date and time, dependencies, and waste or reuse outcome.
Use open, blocked and signed as distinct statuses. A booking enquiry isn't a confirmed booking, and an emailed drawing isn't an approved floor plan.
Practical rule: An item without a named owner counts as open, however reassuring the latest group-chat message sounds.
Include service dependencies, not just entertainment and AV. A general planning resource on coordinating food transport and service is useful when checking how catering deliveries, unloading and service timings interact with the production schedule.
Keep the current spreadsheet accessible on a phone, with a downloadable crew copy for poor reception. Give the event lead control of revisions so suppliers don't install from different versions.
Planning and Capacity Checks Before Booking
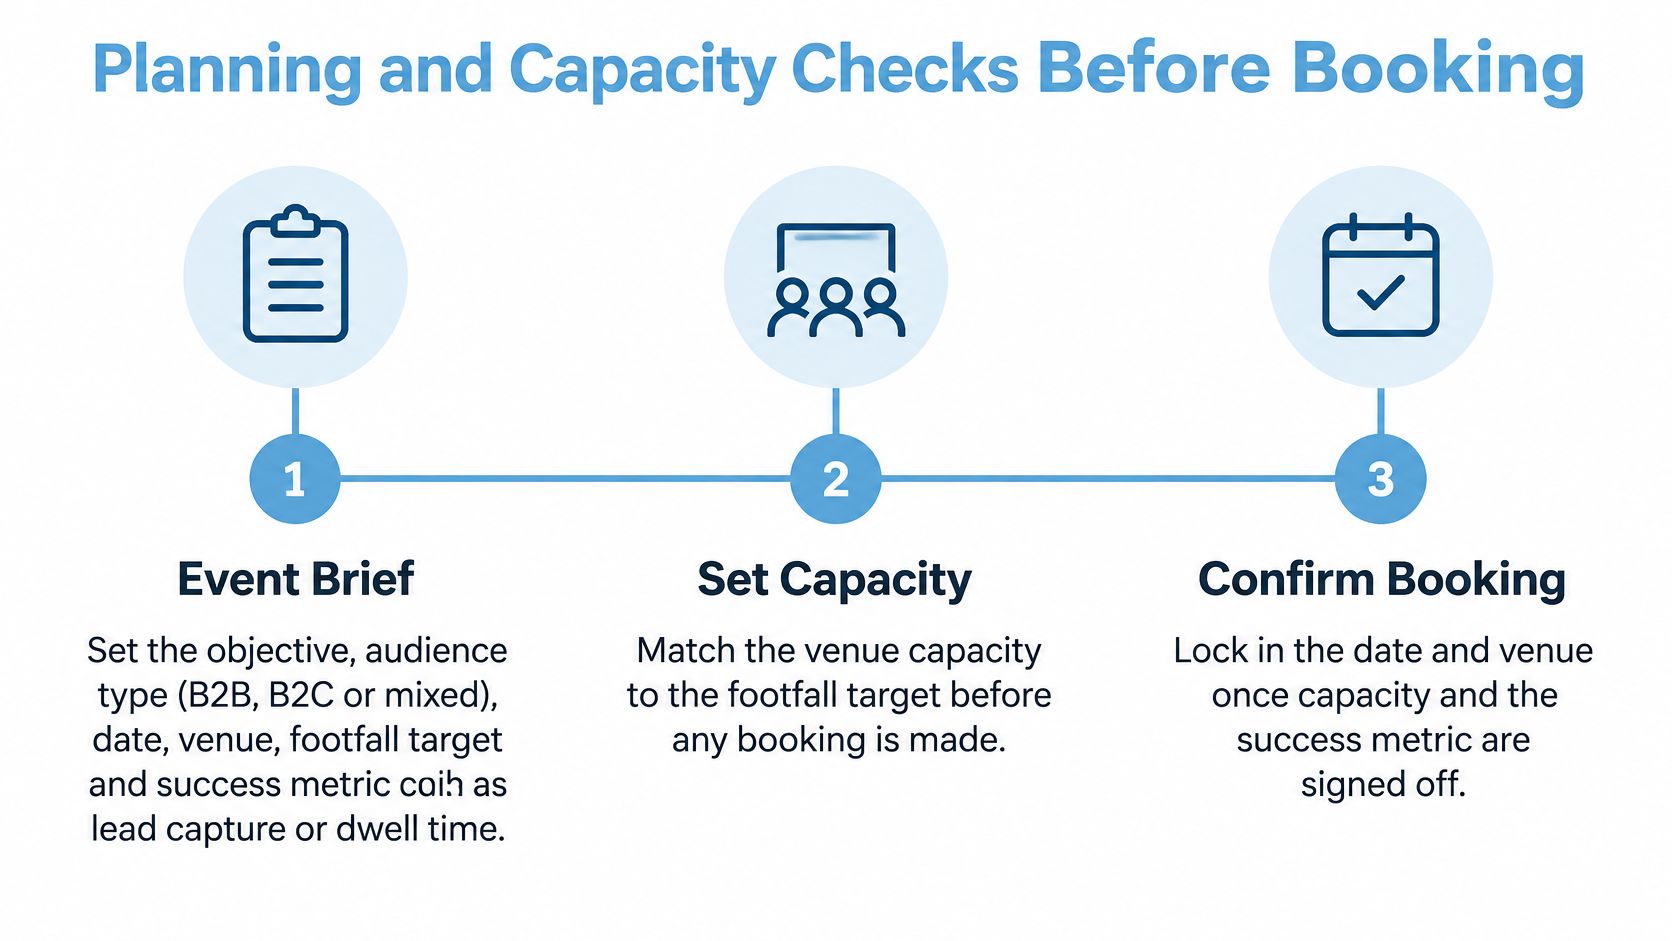
Start with the experience you're trying to deliver, not the equipment you'd like to hire. The event lead writes down the objective, audience type, date, venue, footfall target and success measure, whether that's lead capture, dwell time or completed demonstrations.
That brief decides the layout. A B2B exhibition activation may need space for conversations after play. A B2C launch may need faster turnover and more spectator space, and a mixed audience needs a plan that accommodates both.
Set simultaneous capacity before committing spend
Forecast attendance from previous events or genuinely comparable activity. Separate total visits across the event from the number of people expected onsite at once, then include crew, contractors, performers and suppliers in the occupancy calculation.
The venue manager must confirm capacity for the proposed layout. A room's advertised maximum doesn't automatically remain suitable after you add racing rigs, registration desks, catering and stored cases.
Run the same check at the entrance. Compare the busiest expected arrival window with the time each entry task takes in practice: a ticket scan is quick, wristband fitting or a bag search much slower. When the queue outruns the layout, add check-in points or widen the entrance on the plan before you commit money, not after the first crowd forms.
In England and Wales, the GOV.UK Temporary Event Notice guide sets limits of fewer than 500 people present at any time, including staff, and no more than 168 hours, or seven days, for a TEN covering licensable activities such as selling alcohol, late-night refreshment and regulated entertainment. If attendance reaches that threshold or the duration exceeds it, plan for the appropriate premises-licensing route instead of assuming a TEN will suffice.
Record location, dates, operating hours, licensable activities, maximum simultaneous headcount and the person responsible for applications. Confirm the venue's existing permissions and the relevant application deadlines before committing supplier deposits.
Use milestones as purchasing conditions
Planning milestones and lead times
| Milestone | Timing | Output |
|---|---|---|
| Event brief and audience forecast | 12 weeks before | Signed brief with headcount including staff |
| Venue and site-plan confirmation | At the planning gate, before supplier commitments | Floor plan, power and access agreed |
| Temporary Event Notice check | Before supplier booking and the applicable application deadline | TEN submitted where eligible, or licence route identified |
| Supplier bookings confirmed | 8 weeks before, earlier for bespoke orders | Signed orders with delivery windows |
| Risk assessment and method statements | 6 weeks before | Written H&S documents for build, live operation and breakdown |
| Staffing rota and briefing | Rota 4 weeks before, briefings 2 weeks before | Named roles, briefing dates, steward positions |
| Final site and equipment check | 48 hours before, with opening-day revalidation | Pre-opening sign-off recorded |
| Breakdown and returns | Day after the event, subject to venue handback terms | Hire returns, waste record and post-event review |
Hold each row as a purchasing condition: the order below it goes out only when the output is complete. Where access starts later, finish the documentary checks beforehand and schedule physical testing after installation, before admission.
Reserve a separate budget contingency line. Around 10% can be a starting allowance in a hypothetical launch budget, but price the actual exposure to overtime, replacement hire and transport disruption rather than treating that allowance as sufficient.
Include cleaning responsibilities in the venue agreement. WipesBlog.com's venue hygiene resources for event planners provide a supplementary reference when defining cleaning supplies and service handovers.
The planning decision is go or no-go: proceed only when the audience, usable layout, access, budget authority and licensing route agree.
Suppliers, Materials and Transport Bookings
Build the supplier register around what each booking needs to deliver, not just the supplier's name and price. The procurement lead should record the specification, production lead time, quantity-adjustment deadline, delivery window, collection window, operational contact and certificate of insurance.
Ask whether the quote includes unloading, installation, operator time, packaging removal and return transport. A cheaper equipment quote can become more expensive when your crew has to move cases from a kerbside drop.
Buy resilience without buying unnecessary stock
Order spares according to failure consequences and replacement availability. For example, a provisional allowance of 5 to 10% for inexpensive consumables and small parts may suit a hypothetical build, but a critical proprietary power supply needs a confirmed replacement regardless of that percentage.
Separate interchangeable stock from attraction-specific parts. Spare HDMI cables won't resolve a failed simulator controller if the correct controller is back at the warehouse.
For printed assets, test the finished item before authorising the full run. EventUploader's guide to printing QR codes for event materials is a useful reference when checking that registration, lead-capture or content codes remain usable at their intended size and viewing position.
Make materials an accountable purchase
An isla analysis reported by Event Industry News, covering 6,400 material entries across 789 events in 2025, found that materials accounted for 27% of the overall event carbon footprint after audience travel was excluded, rising to 31% when staff travel was also excluded, alongside nearly £500,000 in measured single-use material disposal costs.
Those figures justify a materials-and-reuse ledger alongside the purchase-order register. Assign its budget owner before procurement, while there's still an opportunity to change specifications.
Record the weight and intended destination of printed branding, carpet, cable protection, packaging, set dressing, batteries and damaged components. Use explicit outcomes: reused, hired, donated, recycled or disposed of, with a recipient or collection route where relevant.
Reusable modular panels aren't automatically the lower-impact choice. Heavy panels transported repeatedly over long distances, stored inefficiently or rebranded after every outing can introduce costs and impacts that a recycling claim doesn't address.
Buy a reuse system only when somebody owns its next use, storage and return journey.
Ask suppliers for packaging take-back, repairability, expected reuse cycles and disposal receipts. Compare whole-event implications, including transport and storage, rather than judging materials in isolation.
Book the complete delivery journey
The logistics manager should confirm:
- Vehicle access: Height restrictions, gate dimensions, turning space and any approach-road restrictions.
- Unloading arrangements: Loading-bay reservation, tail-lift needs, handling equipment and receiving crew.
- Driver instructions: Depot route, arrival window, waiting location, parking permits and workable driver-hours planning.
- Internal movement: Goods-lift availability, door clearances, floor protection and the route to the destination hall.
Label every case with its contents and final location. Book collection against the packing sequence, not just the advertised event finish.
On-Site Setup and Equipment Pre-Opening Tests
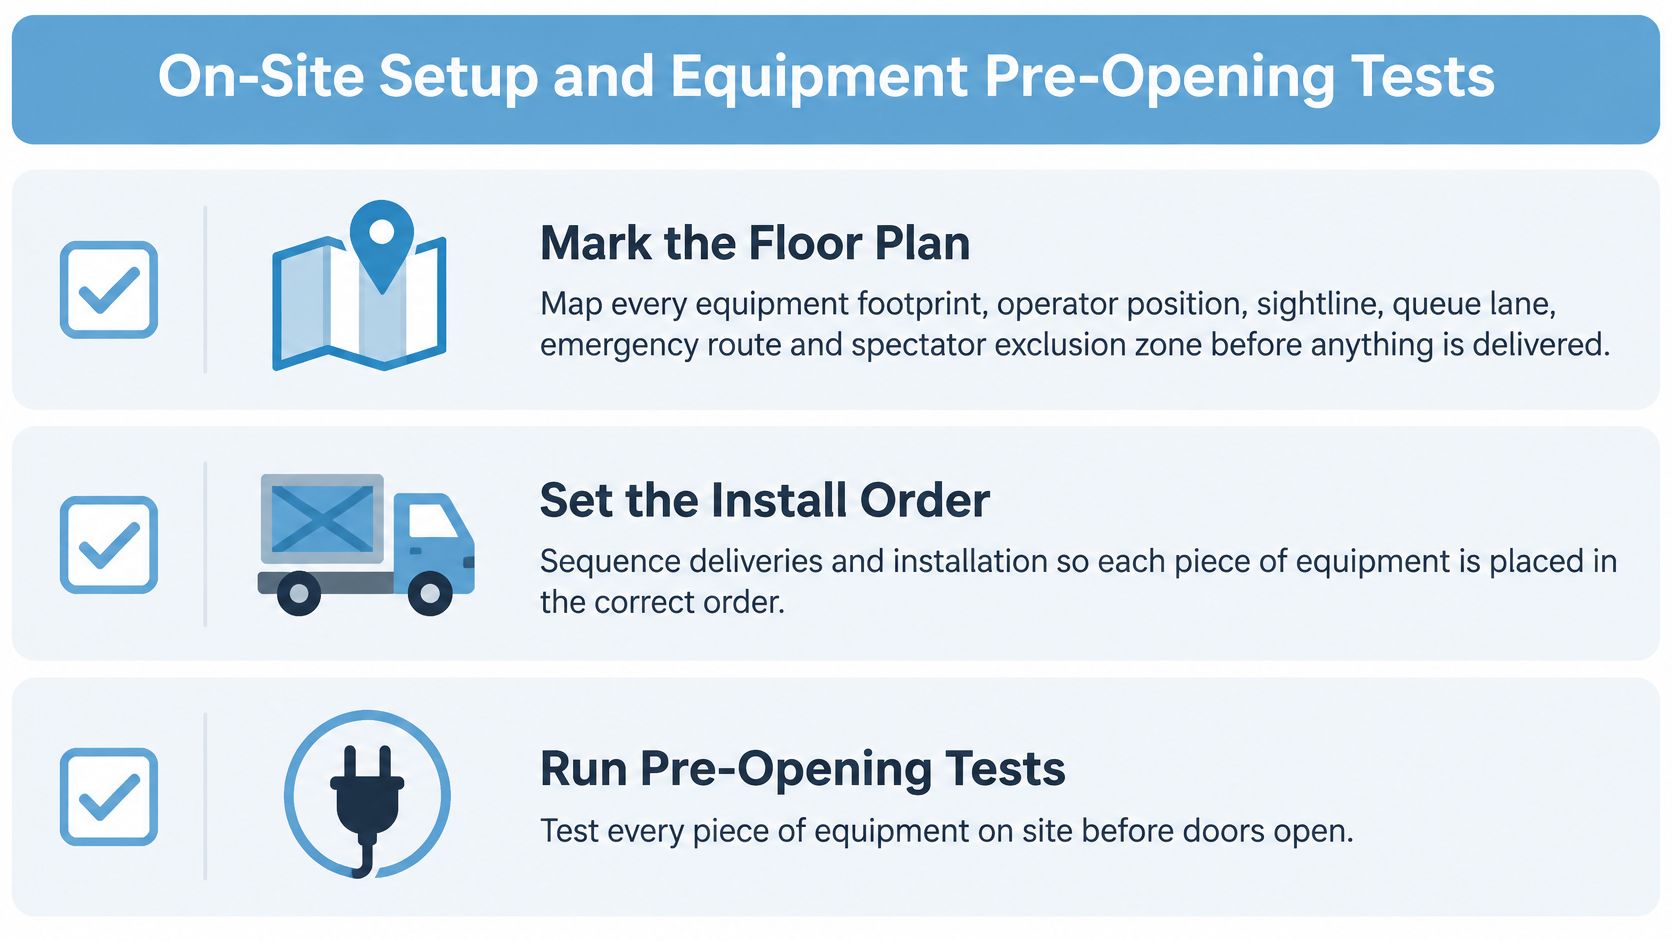
Start with the approved floor plan and mark every equipment footprint, operator position, sightline, queue lane, emergency route and spectator exclusion zone. The site manager should walk the delivery route with the technical lead before unloading starts.
Install heavy or awkward items before they become trapped behind finished structures. Bring fragile screens into position after disruptive handling work, while keeping enough access for their installation and testing.
Sequence the build around access and power
Use the installation requirements to check attraction-specific space, access and utility needs against the venue's actual conditions. A rig that fits its operating position may still fail to fit through the goods lift.
Map power distribution before connecting equipment. A competent electrical contractor should confirm loads, protective arrangements and supply suitability, with circuits and isolators labelled so operators can identify the correct shutdown point.
Route cables away from pedestrian movement wherever possible. Use suitable cable protection where crossings can't be avoided; tape alone isn't a substitute for protection against loading, crushing or a raised trip hazard.
Keep final-exit doors and gates immediately usable throughout installation. Empty cases, packing foam and spare panels need an agreed storage location, not the nearest apparently unused corridor.
Record functional tests at each attraction
Equipment pre-opening test record
| Equipment | Pre-opening check | Sign-off evidence |
|---|---|---|
| Simulator or racing rig | Emergency stop, restart, harness where fitted, and seat checks | Signed test record with time |
| VR headset | Headset hygiene, cable routing, battery charge | Charged kit log and cleaning record |
| Screens and displays | Power-on test, sightline, brightness, fixings | Sightline sign-off by site manager |
| Audio and PA | Level check, backup power switch-over | Test log confirming backup works |
| Power distribution | Labelled circuits, isolators, RCD test | Electrical test certificate covering the relevant installation and tests |
| Data and control network | Connection test, backup link | Network test log |
Test equipment in its installed operating state, not just on a warehouse bench. Screens need checking under event lighting, networks need checking where devices will operate, and registration should be rehearsed using the actual scanning kit.
A successful restart test includes the operator's actions after a stop. Confirm that equipment can't resume unexpectedly while somebody is adjusting a seat, handling a headset or entering the operating area.
- Test result: Record pass, fail or restricted use against the asset identifier.
- Defect and correction: Describe the fault and the action taken, including replacement components.
- Accountability: Name the tester, corrective-action owner and person authorising release.
- Timing: Record when testing finished and whether later changes require another check.
Repeat affected checks after changes to layout, weather exposure or crowd conditions. If a revised queue obstructs the operator's view, the previous sign-off no longer establishes that the attraction is ready.
Finish with a signed pre-opening record for each attraction. A verbal “it works” doesn't tell the event director whether the emergency stop, surrounding space and operator procedures were tested together.
Staffing, Stewarding and Crowd Counting
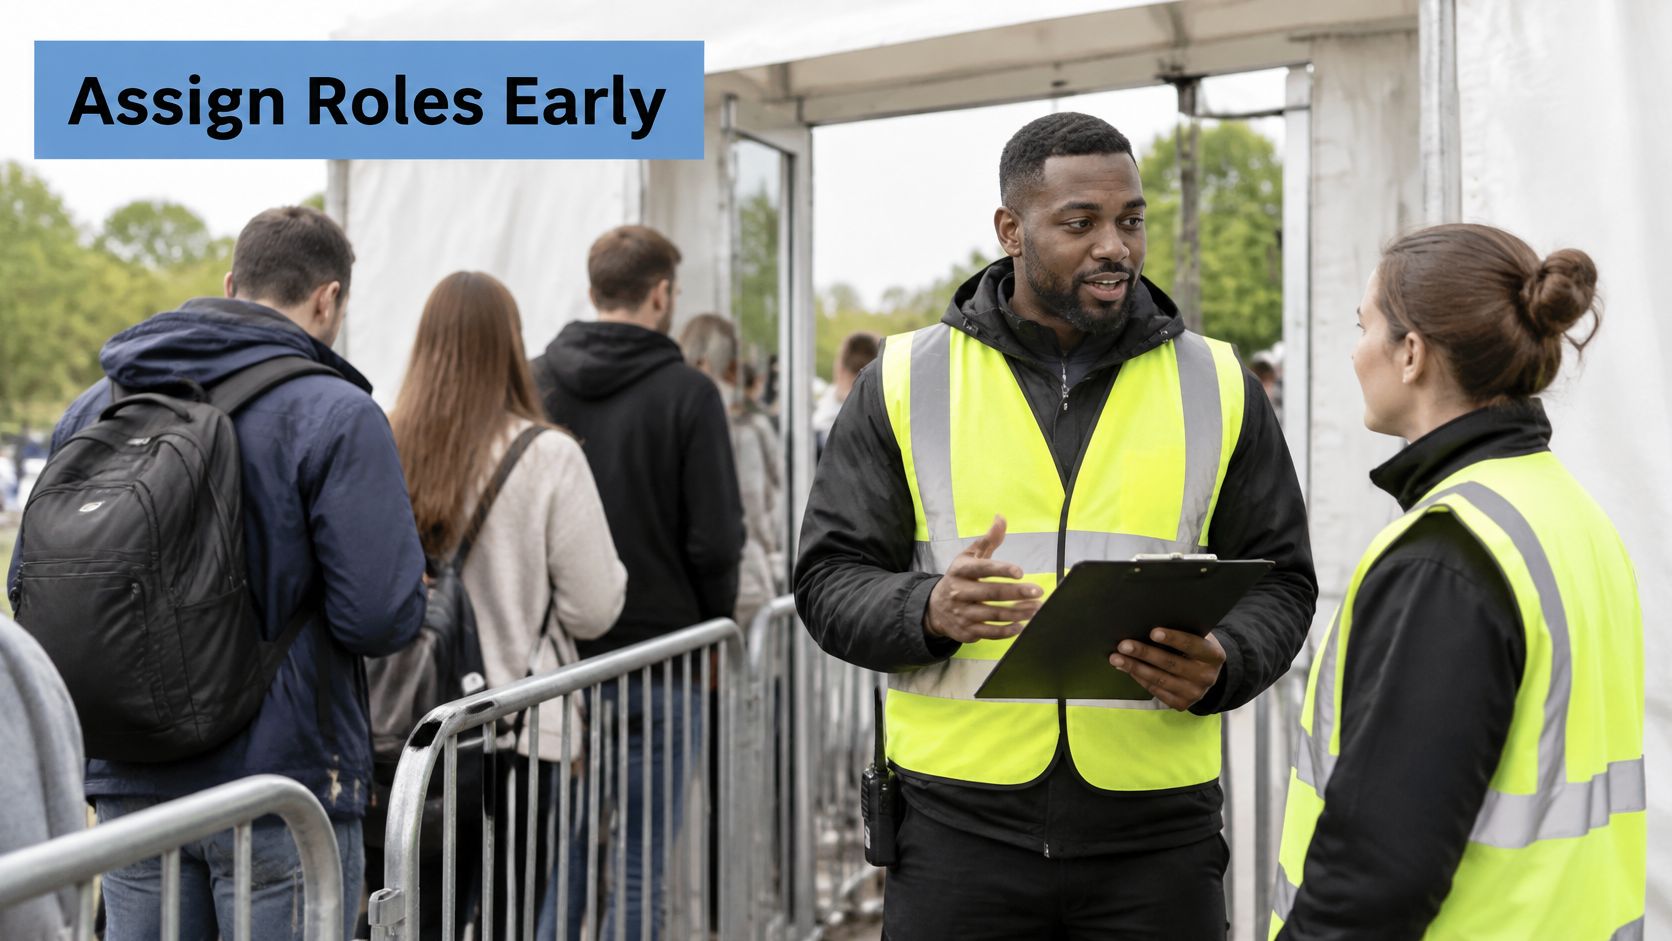
Assign responsibilities before filling the rota. Name the entrance lead, attraction stewards, control-point operator and break-cover staff, then check that nobody is expected to cover incompatible positions simultaneously.
An attraction operator may need uninterrupted attention on participants and equipment. Don't assume that person can also manage an external queue, resolve registration problems and watch an adjacent exit.
Brief the team around the visitor journey
For arrival and entry, walk the queue layout, barriers, help point and redirect positions. Separate ticket exceptions from routine admission so a missing confirmation doesn't stop every valid guest behind it.
During movement around the venue, position stewards where visitors slow down, change direction or gather to watch. Simulator bays, bars and stairs need observation even when the entrance queue has disappeared.
For departure and dispersal, protect exit routes and prevent waiting groups from spilling into vehicle movements. Keep steward coverage until the audience has cleared the relevant areas, rather than ending all shifts at the programme finish.
Use the event staffing arrangements as a starting point when defining attraction operators and supporting crew. Confirm the boundary between each supplier's staff and the organiser's wider stewarding responsibilities in writing.
Match counting to the location
The HSE crowd-monitoring guidance identifies hand counters, turnstiles, chipped tickets or wristbands, people-counting sensors and thermal counting as methods for estimating attendance, alongside observation of crowd distribution and movement. Choose the method for the location and reporting task, not because it produces the most impressive dashboard.
Crowd counting methods and where they fit
| Method | Best for | Limitation |
|---|---|---|
| Hand counters | Single doors and small rooms | Miscounts rise at peak and with staff fatigue |
| Turnstiles | Ticketed entry points | Counts passage, not location, unless paired with exit counts |
| Wristbands or chipped tickets | Registered or ticketed guests | Needs a ticketing system and scanners at each gate for electronic tracking |
| People-counting sensors | Corridors and attraction queues | Needs calibration and correct placement |
| Thermal counting | Entrances and exits in low light | Equipment cost and placement limits |
| CCTV observation | Distribution across the whole site | Needs trained operators to read density and movement |
A venue can remain below its total capacity while a popular attraction creates dangerous local congestion. Observe queue length, available escape space, movement and pressure as well as the overall occupancy figure.
Set actions at visible trigger points. For example, open an additional check-in position when the queue reaches the agreed floor marker, provided that doing so won't overload security screening further downstream.
A counting system only helps when somebody is watching the result and has authority to act.
Give stewards the radio channels, call signs and named escalation route from the control-point communications plan. Log the trigger, response and outcome, and confirm who can pause admissions when the agreed response doesn't restore safe movement.
Health, Safety and Accessibility Compliance
Extra stewards don't compensate for an unsafe layout or unclear authority. A documented management system tells people what to inspect, which conditions require intervention and who decides whether work or admissions can continue.
The HSE crowd-safety guidance calls for clear roles and responsibilities, written arrangements, assessment of visitor behaviour, site inspection and coordination with police and emergency services. Build those arrangements into the production documents rather than leaving them in a separate folder that supervisors never use.
Make the documents match the work
The H&S lead should maintain the risk assessment, contractor method statements, inspection records and change register. Each document needs to describe the actual activity, including how contractors interact in shared spaces.
A method statement for moving a simulator is incomplete if it assumes an empty hall while another supplier is unloading across the same route. Resolve that interface with the site manager and both contractors before authorising the move.
Treat the event's phases separately:
- Build: Name a competent lead for handling operations, temporary services, installation and contractor coordination.
- Live operation: Define supervision, equipment operating limits, public access controls and intervention authority.
- Breakdown: Document the handover back to a work site, including when dismantling and vehicle access can begin.
Coordinate early with venue management, transport operators, local authorities and emergency services where relevant. For larger or more complex events, identify any relevant Safety Advisory Group involvement without treating that consultation as a replacement for the organiser's own decisions.
Use the event health and safety arrangements to establish which attraction documents and supplier responsibilities need integrating into the overall event file. The organiser still needs to manage the interfaces between suppliers.
Check access as a complete journey
The UK Disability Survey found that 31% of disabled respondents had difficulty using public spaces “all the time” or “often”, while 28% reported the same difficulty accessing public buildings. Those findings make a strong case for checking the complete visitor journey rather than accepting a general statement that a venue is accessible.
Walk the route from public transport, parking or drop-off through registration, toilets, viewing areas, catering and attractions. Check door operation, surfaces, circulation widths and whether people can use the route without asking staff to remove stored equipment.
Accessible signage and communications should help visitors make decisions before they reach an obstacle. Provide seating or rest points where appropriate, and confirm how someone can enjoy an attraction if its standard operating arrangement isn't suitable.
- Before attendance: Give visitors a clear contact for individual access requirements and agree who responds.
- During installation: Verify that the built layout preserves the intended routes and facilities.
- During operation: Check that queues, furniture and temporary storage haven't reduced access.
- During breakdown: Preserve necessary accessible departure routes until visitors have left.
Record the accessible evacuation arrangements and who will deliver any agreed assistance. Evidence should show what was checked, by whom and what changed, not merely that somebody ticked an accessibility box.
Contingency and Emergency Procedures
Write emergency procedures as actions assigned to people. Name who raises the alarm, contacts emergency services, controls the incident and issues public information, with deputies where the primary person may be unavailable.
Mark casualty treatment locations, emergency vehicle access and the arrangements for evacuating disabled people. Define how the event team supports statutory responders and when incident control transfers to them.
Keep communications at a single control point
The HSE incidents and emergencies guidance requires immediately usable final exits, clear emergency routes and suitable instruction, training and competent supervision. The control-point plan should turn those requirements into an arrangement that staff can use under pressure.
Keep the communications master with the control-point operator. Include:
- Radio allocation: Operational channels, call signs and the person monitoring each channel.
- Escalation rules: Who receives routine faults, urgent safety concerns and emergency reports.
- Message discipline: Report location, situation and assistance needed in plain language.
- Decision record: Log the incident, instructions, acknowledgements and subsequent changes.
Build redundancy into the physical kit: spare batteries, mobile phones, two-way radios and backup loudhailers. At larger venues, confirm backup power for public-address systems with the venue's technical team.
Test communications where staff will stand, including loading areas and enclosed rooms. A spare radio is only useful if it's charged, configured and available to the person who needs it.
Define the first action and the stopping point
For simulator, VR and electronic-game faults, use the equipment pre-opening test record to establish the correct stop, isolation and restart procedures. If a unit overheats or fails, stop play and protect the surrounding area before investigating.
Contingency scenarios with first response and escalation
| Scenario | First response | Escalate to |
|---|---|---|
| Equipment failure or overheating | Isolate the unit, suspend play, log the defect | Technical lead |
| Power cut | Pause activity and audio, check emergency lighting, use the agreed safe backup-power procedure | Venue duty manager |
| Queue build-up at entrance | Open a second check-in where safe, redirect excess arrivals | Steward lead |
| Severe weather affecting outdoor elements | Pause outdoor activity, activate the agreed indoor plan | Event director |
| Medical incident | Alert control, summon a first-aider, protect the casualty and keep responder access clear | Designated first-aider, then emergency services |
| Lost or missing staff member | Radio roll call, check known positions, notify control point | Event director |
Set weather intervention criteria using the equipment supplier's operating limits and competent site advice. Don't move an outdoor audience into an indoor space unless that alternative has been checked for capacity and access.
Reopening needs a named authoriser, not merely the disappearance of an alarm or error message. Record every incident and corrective action, preserve relevant test evidence and carry unresolved issues into the post-event review.
Sign Off the Checklist Before Doors Open
Turn the working spreadsheet into a set of approval gates. A gate is a decision to release dependent work, not a meeting at which everyone reports that they're nearly finished.
Use these recommended checkpoints, adjusting them earlier where contracts or applications require it:
| Gate | Recommended timing | Release condition |
|---|---|---|
| Planning | 12 weeks before | Scope, audience, site suitability and spending authority accepted |
| Supplier and risk | 6 to 8 weeks before | Orders, delivery interfaces and phase-specific safety documents accepted |
| Pre-opening | 48 hours before for readiness review, then physical release before admission | Installed attractions and public areas verified ready |
| Breakdown | Day after the event, or earlier where handback requires it | Returns, venue condition and materials outcomes recorded |
Close defects rather than carrying assumptions
Each owner signs with a date and time and attaches the relevant evidence. An open defect needs a named owner, a deadline and an explicit decision about which activity remains blocked.
The event director should distinguish cosmetic snags from conditions that prevent safe opening. A damaged branding panel may be removable; an unverified protective device or obstructed escape route needs resolution before the affected area is released.
Use the spreadsheet's status, evidence link, sign-off time and waste or reuse columns during closeout. Don't replace the working record with a new summary that loses the original approvals and changes.
Make the next event easier to plan
Compare actual headcount with the forecast and examine arrival patterns, not just attendance totals. Record incidents, corrective actions, supplier failures and materials reused, recycled or disposed of, then assign an owner to each agreed improvement.
For launches, fan zones or staff rewards using simulators, racing rigs or VR, PSW Events can provide a site-specific checklist built around the attractions, footprint and expected audience. That's an optional alternative to building the attraction-specific schedule internally or coordinating it through your production agency.
Keep the improvement record with the next event's starting documents. The useful outcome isn't a completed spreadsheet; it's a clearer decision about what to book, brief or test differently.
PSW Events offers simulator and interactive-attraction hire with planning, delivery, installation and on-site staffing. Visit PSW Events to discuss your venue, audience and operating schedule, and identify the attraction-specific checks your event logistics checklist needs.